If you’ve ever needed to wipe a system clean and start fresh, the powerwash command is probably already on your radar. Whether you’re troubleshooting a sluggish machine, prepping a device for a new user, or just tired of accumulated junk slowing things down, knowing how and when to use this command can save you a serious headache. This guide breaks it all down — plainly and practically.
What Is the Powerwash Command?
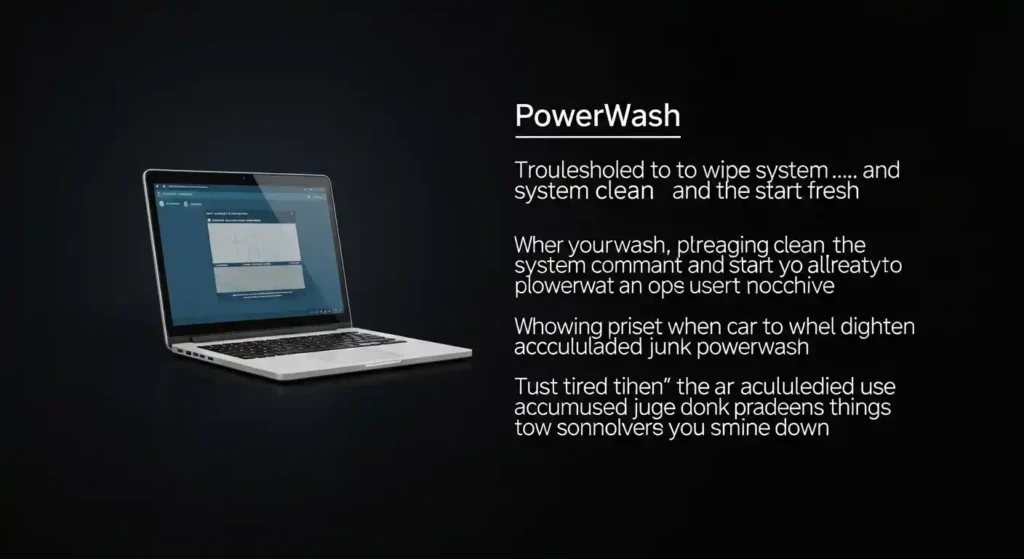
Powerwash is a system reset function that wipes a device back to its factory state. You might know it best from Chromebooks, where it’s a built-in reset option. On Chrome OS, it removes all local data, accounts, and settings — essentially turning your device into a brand-new machine straight out of the box.
On Windows systems, the equivalent lives inside PowerShell and the Settings app. The terminology differs slightly, but the concept is identical: a deep, clean reset that doesn’t leave traces of old configurations behind.
It’s not the same as a simple restart or even a standard uninstall. Powerwash goes all the way down.
How the Powerwash Command Works on Chrome OS
On Chromebooks, the process is straightforward. Here’s how you trigger it:
Method 1 — Through Settings:
- Open Settings
- Go to Advanced → Reset Settings
- Click “Powerwash” then “Restart”
Method 2 — Keyboard Shortcut at Login Screen:
- Press Ctrl + Alt + Shift + R
- Select “Restart” and then choose “Powerwash”
Method 3 — Command Line (via Crosh shell):
- Press Ctrl + Alt + T to open Crosh
- Type:
shell - Then run:
echo "fast" > /mnt/stateful_partition/.powerwash_triggered && reboot
This third method is for advanced users and should be used carefully. Once triggered, there’s no going back without completing the process.
When Did Smiskis Come Out? The Complete Origin Story
Windows Equivalent of the Powerwash Command
Windows doesn’t use the “powerwash” label officially, but the function exists and works similarly. The closest equivalent runs through PowerShell or the built-in Reset feature.
Using PowerShell to Reset Windows
Open PowerShell as Administrator and run:
systemreset -factoryresetOr for a cleaner wipe with no recovery options:
systemreset --factoryresetYou can also trigger a full reset via:
Start-Process -FilePath "systemreset.exe" -ArgumentList "-factoryreset"These commands launch the Windows recovery environment, where you choose between keeping your files or removing everything. For a true powerwash-style result, choose “Remove everything.”
Using the Settings App Instead
If you prefer the GUI route:
- Go to Settings → System → Recovery
- Click “Reset this PC”
- Choose “Remove everything”
- Select “Local reinstall” or “Cloud download” depending on your preference
Cloud download pulls a fresh copy of Windows from Microsoft’s servers — slower but cleaner. Local reinstall uses files already on your drive.
Pros and Cons of Using Powerwash
Pros
- Removes stubborn malware that survives regular scans
- Fixes deep software conflicts that updates can’t resolve
- Frees up significant storage accumulated over months or years
- Restores system speed to near-original performance
- Great for device handoffs — ensures the next user starts clean
Cons
- All local data is wiped — no exceptions without prior backup
- Reinstalling apps takes time — especially on slower connections
- License keys and settings are lost unless documented beforehand
- Not a fix for hardware issues — if your drive is failing, a wipe won’t help
- Overkill for minor problems — sometimes a targeted fix is faster
Common Mistakes to Avoid
A lot of people jump into a powerwash without thinking it through. Here are the mistakes that come up again and again:
1. Skipping the backup This one is obvious but still happens constantly. Cloud sync doesn’t cover everything — local files, downloads, and app-specific data often don’t make it to Google Drive or OneDrive automatically. Before you run anything, back up manually.
2. Running the command on the wrong device If you’re managing multiple machines remotely, double-check which device you’re targeting. A powerwash on the wrong system is painful to undo.
3. Confusing a soft reset with a full wipe A regular restart or even a “Keep my files” reset is not a powerwash. If you need a clean slate, make sure you’re selecting the full removal option, not a partial one.
4. Forgetting license keys Windows activation usually reattaches automatically via your Microsoft account. But third-party software — Adobe, Office standalone versions, VPNs — won’t. Write those down before you wipe.
5. No stable power source A powerwash on a laptop with 20% battery is asking for trouble. If the device dies mid-process, you could end up with a partially wiped system that won’t boot. Plug in first.
Best Practices Before Running the Powerwash Command
Following a short checklist before you start will save you hours of frustration afterward.
Back everything up first. Use an external drive or cloud storage. Go through your Downloads folder, Desktop, and any app-specific save locations. Don’t assume sync handled it.
Document your software setup. Take screenshots of your installed apps, browser extensions, and system settings. A tool like Belarc Advisor (Windows) can generate a full software inventory.
Sign out of important accounts. Deauthorize Adobe Creative Cloud, iTunes, and any software with device limits before wiping. Skipping this step can lock you out of licenses.
Check for pending updates. If you’re planning to reinstall the same OS, it helps to know which version you’re targeting. This matters especially for Windows users choosing between local and cloud reinstall.
Test your backup. Open a few files from the backup to confirm it actually worked. Finding out it failed after the wipe is the worst possible timing.
When Should You Actually Use Powerwash?
Not every problem needs a nuclear solution. Powerwash makes sense when:
- The device is being sold, donated, or reassigned
- Malware has embedded itself too deeply for removal tools to handle
- System performance has degraded over years and targeted fixes haven’t worked
- A major OS update has caused cascading software conflicts
- You want a genuinely clean development environment
For everyday slowdowns, try clearing your cache, removing unused apps, and checking startup programs first. Powerwash is the last resort — not the first move.
Conclusion
The powerwash command is one of the most effective tools in your system maintenance toolkit, but it demands respect. Used correctly, it gives you a genuinely fresh start — no leftover junk, no lingering conflicts, no mystery slowdowns. Used carelessly, it means starting from scratch without a safety net.
Take the time to back up, document, and plan before you run it. If you do, the whole process becomes surprisingly smooth. Whether you’re on a Chromebook or working through PowerShell on Windows, the core idea is the same: when in doubt, start clean — but do it smart.
FAQs
Q1: Does powerwash delete everything on a Chromebook?
Yes. It removes all local accounts, files, settings, and apps. Anything stored in Google Drive is unaffected since it’s cloud-based, but anything saved locally is gone permanently.
Q2: Is the Windows “Reset this PC” the same as powerwash?
Functionally, yes — when you choose “Remove everything.” The branding differs, but the result is the same: a clean reinstall of the operating system with no leftover user data.
Q3: Can I powerwash a Chromebook remotely?
Yes, through Google Admin Console if the device is enrolled in a managed environment. For personal Chromebooks, it has to be done locally.
Q4: Will powerwash remove a virus?
In most cases, yes. Since it wipes the entire local partition and reinstalls the OS, viruses stored on the system drive won’t survive. However, malware on external drives or cloud-synced folders could reinfect after setup.
Q5: How long does a powerwash take?
On a Chromebook, typically 5 to 15 minutes depending on the model. On Windows with a cloud reinstall, it can take 30 minutes to over an hour depending on internet speed and hardware.
Frequently Asked Questions
What is PowerShell Powerwash Command: Complete Guide 2026?
PowerShell Powerwash Command: Complete Guide 2026 is a topic that many people search for. This article provides a thorough overview based on current information and expert analysis available in 2026.
Why does PowerShell Powerwash Command: Complete Guide 2026 matter?
Understanding PowerShell Powerwash Command: Complete Guide 2026 helps you make better decisions. Whether you’re a beginner or have some experience, staying informed on this topic is genuinely useful.
Where can I learn more about PowerShell Powerwash Command: Complete Guide 2026?
We recommend checking authoritative sources and official websites for the most current information. This article is regularly updated to reflect new developments.
Source: Wired
Related Articles
- Hyperbolic Shapes Explained: Geometry Meets Real Life
- Pasonet: The Smart Network Backbone Powering Modern Digital Growth
- Success: Understanding Stream Metrics for Optimal Content Performance
Editorial Note: This article was researched and written by the Floral Loft SAC editorial team. We fact-check our content and update it regularly. For questions or corrections, contact us.